If you're using WordPress, installing the assistant manually is straightforward, even though we don't have a plugin available yet. The entire process will take you less than 5 minutes.
Create a Pattern
Creating a "Pattern" in the block editor is the simplest method for installation. This approach allows you to utilize the assistant across multiple pages or posts. Patterns are a feature introduced in WordPress 6.3, so ensure your version is up to date.
Patterns are accessible if you're using a default theme (such as Twenty Twenty-Two). For older themes, the assistant can still be added using the "Custom HTML" block in the block editor, following a similar process.
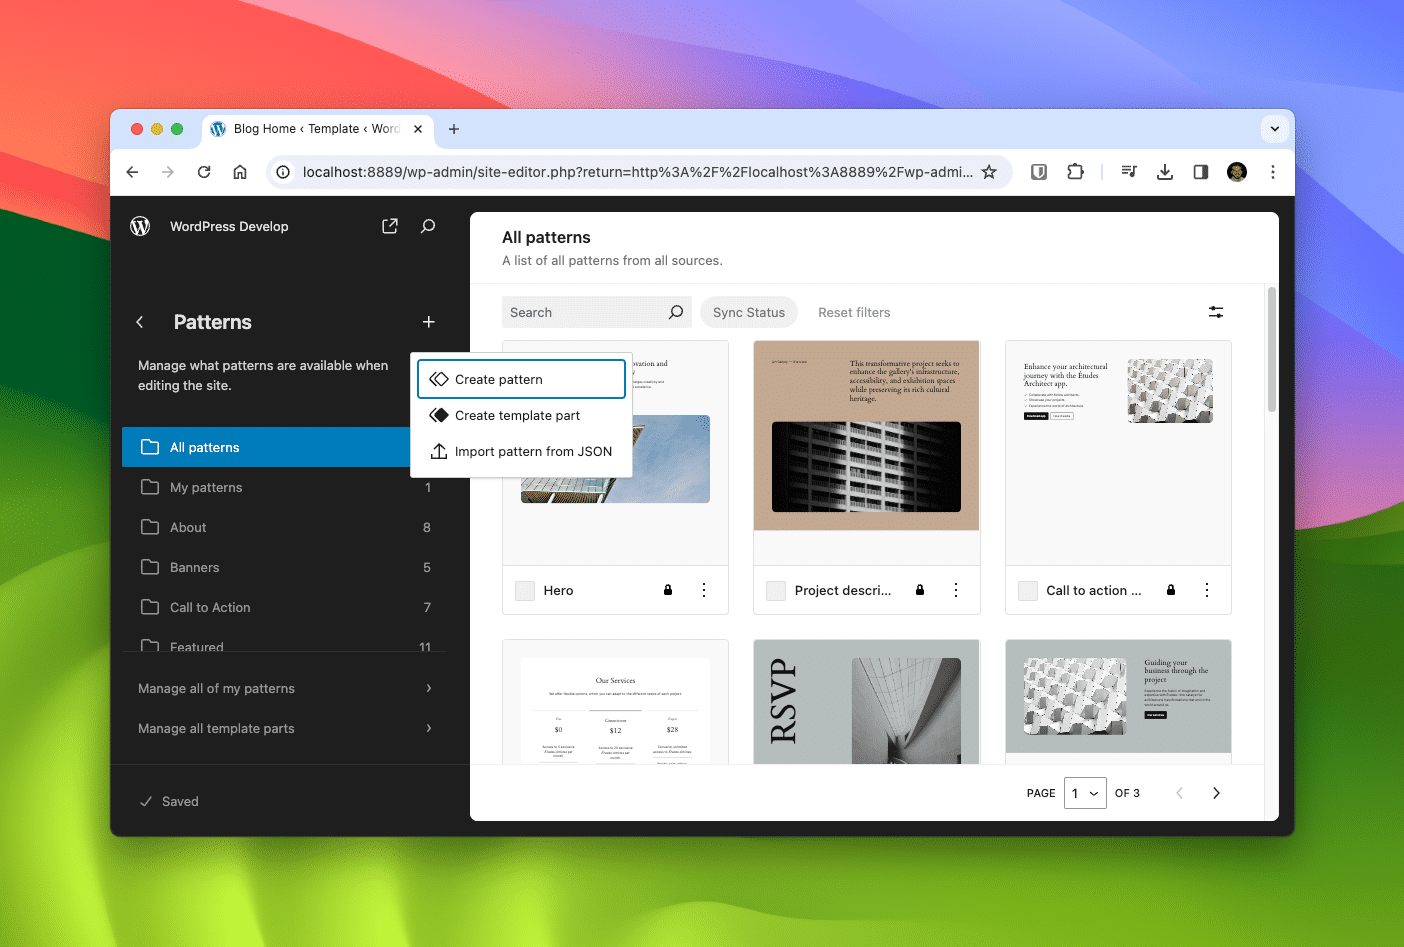
Navigate to your WordPress dashboard, select "Appearance," then "Themes," and finally "Customize." If your theme is compatible with the new design editor, you'll find an option labeled "Patterns." Click on it, then the "+" sign in the upper-right corner to create a new pattern. Choose "Create pattern" to access the block editor. Name your pattern something memorable, like "Chat with Page" or "AI Assistant."
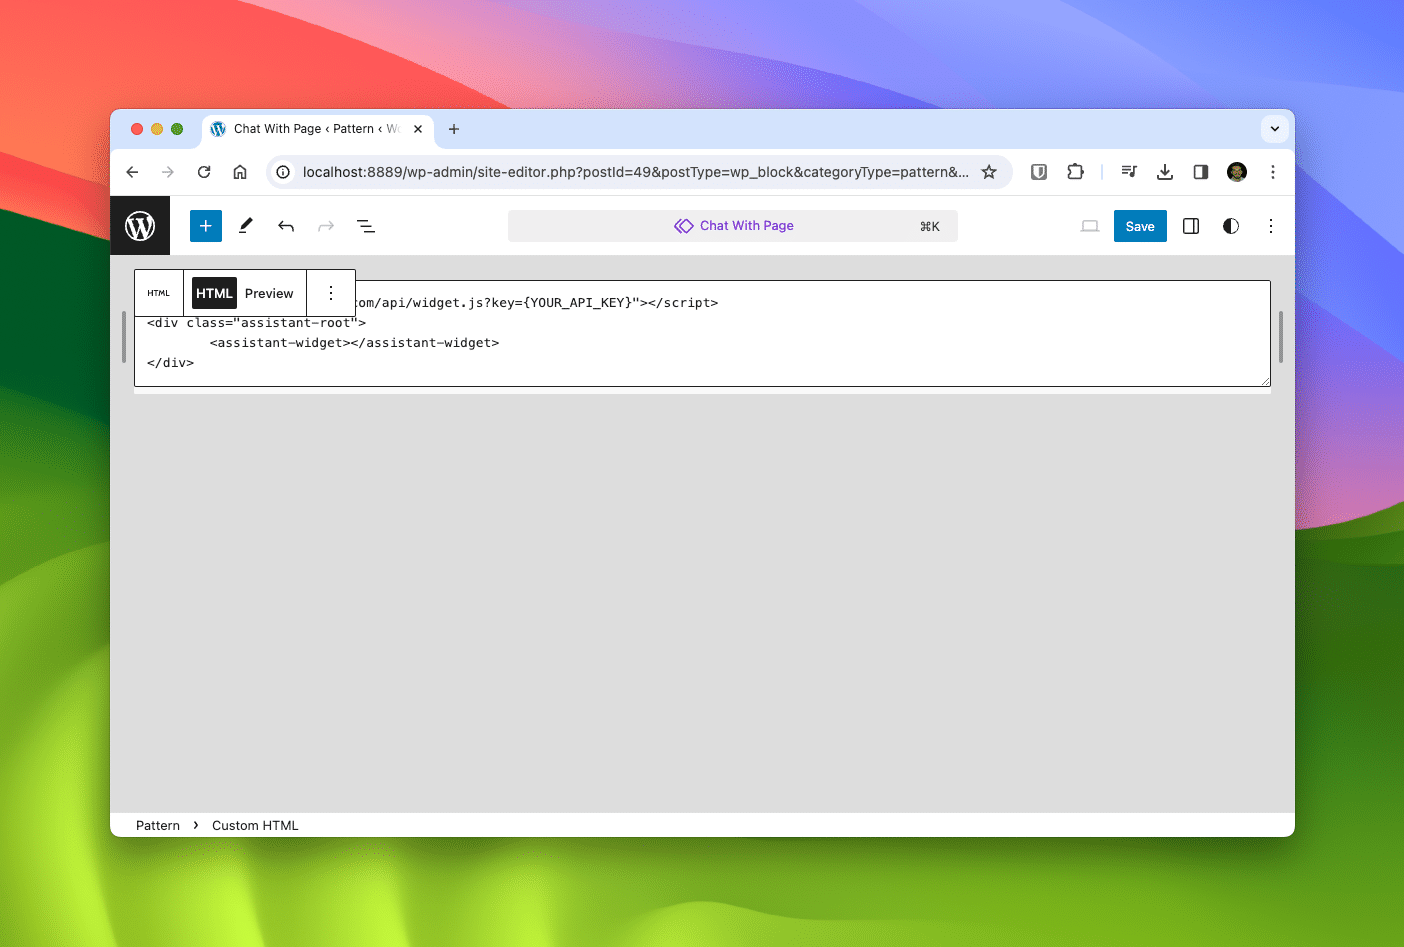
In the block editor, select "Custom HTML" and paste the following block of code:
<script src="https://f13o.com/api/widget.js?key={YOUR_API_KEY}"></script>
<div class="assistant-root">
	<assistant-widget></assistant-widget>
</div>
Ensure to substitute the placeholder with your actual API key, which is available in your dashboard after signing up. You can further customize the assistant by adding properties to the <assistant-widget> component. For a comprehensive list of available properties, refer to our documentation.
Click "Publish" to save your pattern, making it available for use in any page or post on your site. Next, let's integrate it into your templates to include the widget on every post or page.
Add Pattern to Theme
To integrate the pattern into your theme, go to the "Customize" theme menu, select "Templates," and find the template where you want to include the widget. It's recommended to add it to the "Single Posts" template, but it can be added to any template as desired.
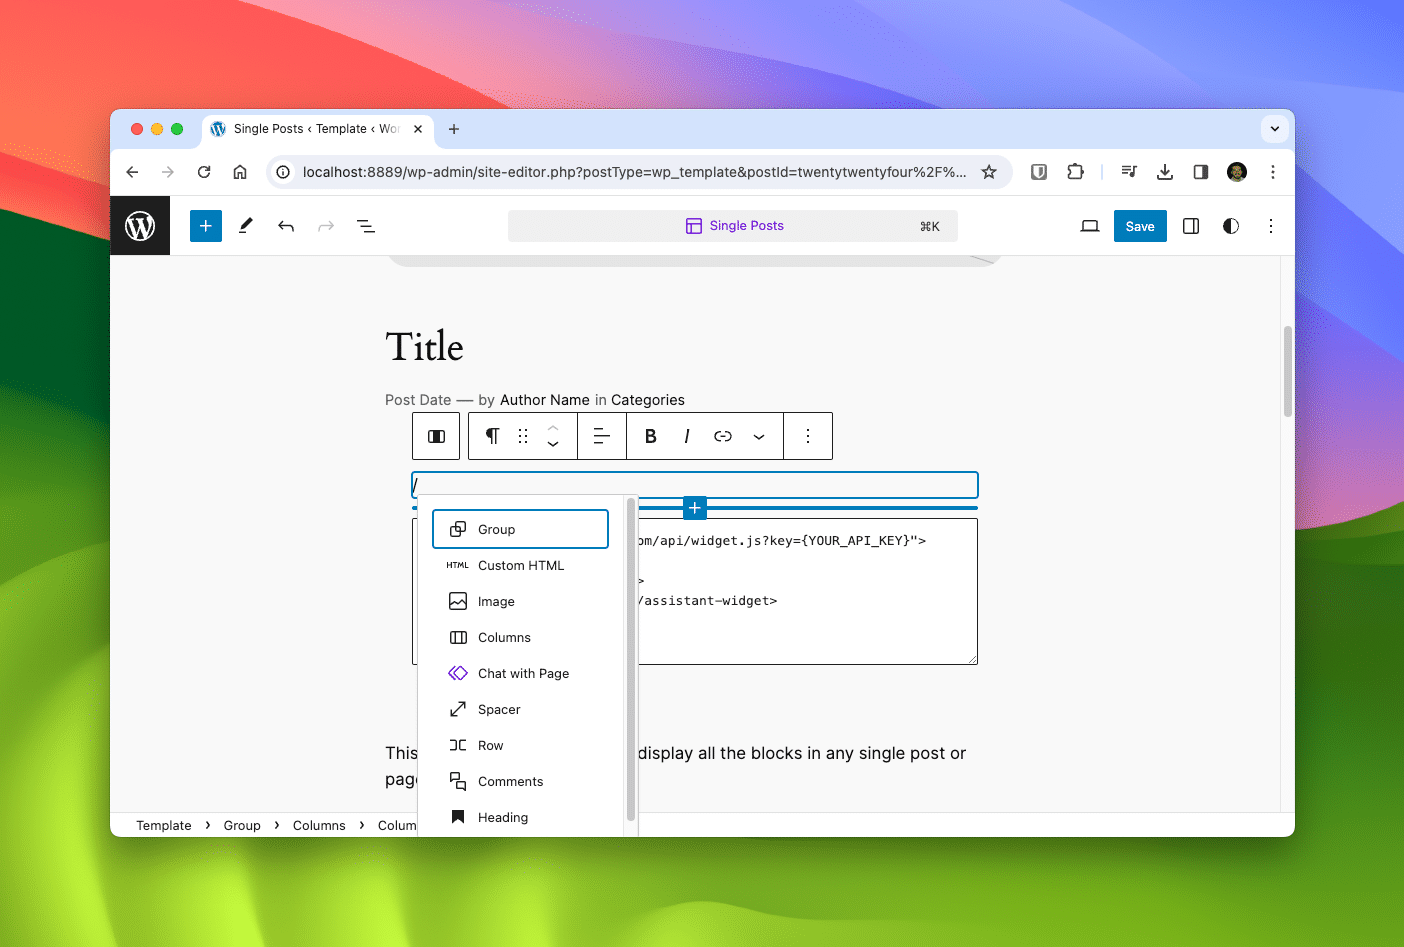
Upon selecting a template, you'll be directed to the template block editor. Click the "+" sign where you wish to insert the assistant and look for the previously created pattern. Select it to add it to the template, then click "Save" to apply the changes.
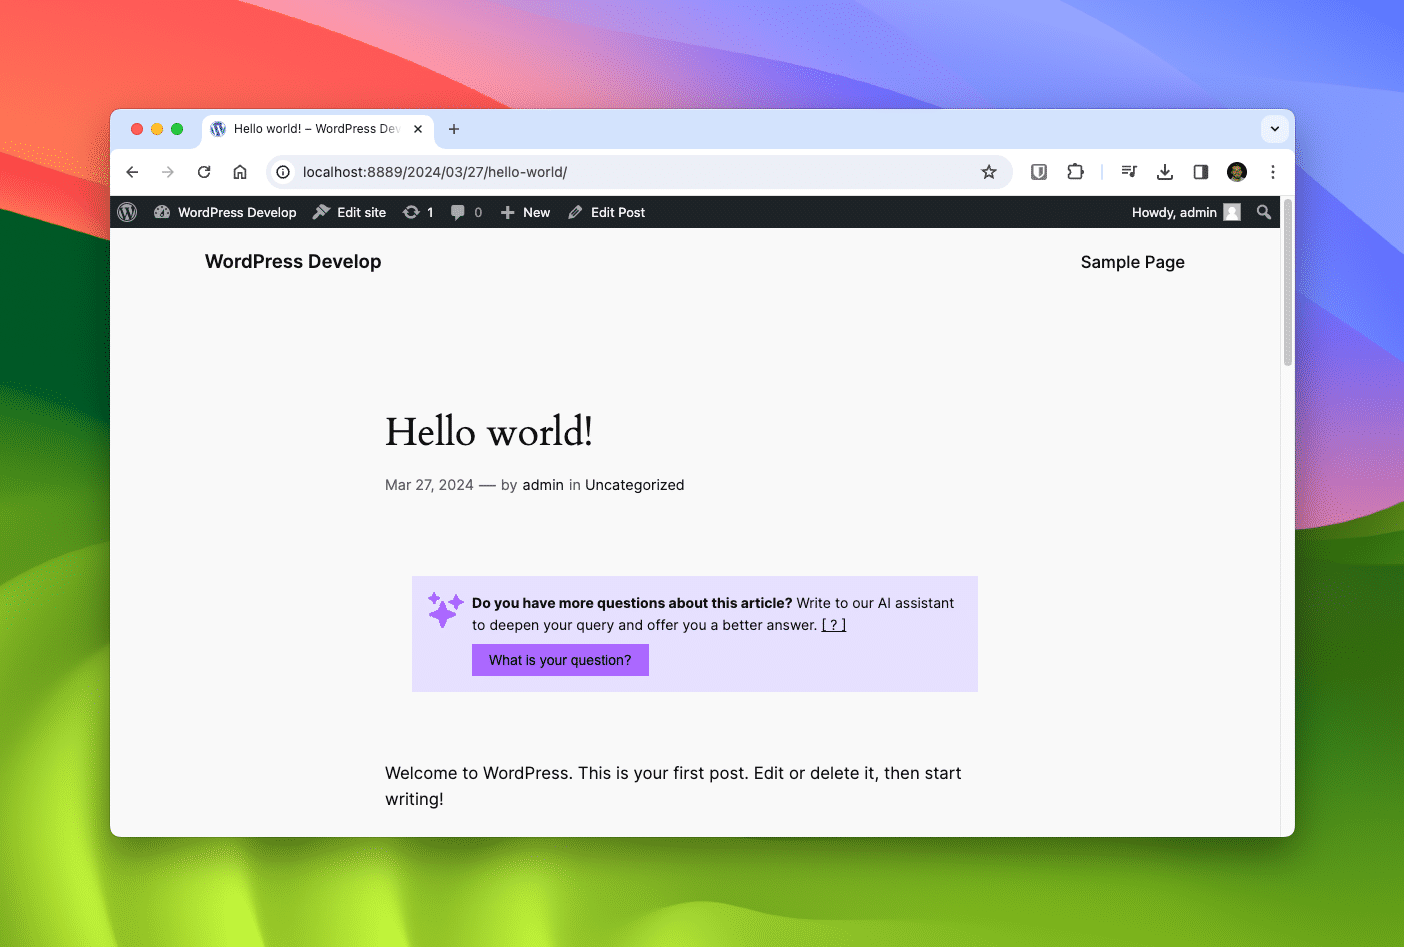
That's it! You can reposition it to your liking. Now, any post utilizing this template will feature the assistant, ready to assist your users.